
“A goal without a plan is just a wish.” ― Antoine de Saint-Exupéry, writer and pioneering aviator
If you are like the majority of business owners and project managers working in construction, you might put projects together conceptually on bid day, but not take the detailed effort to plan them after contracts are received. Planning can easily be the largest post bid factor to higher profits in the lifespan of a project. For most estimators, the bid process is a scientific process of multiple hypothesis based on a set of lines and specifications mixed with past experiences. In the wold of estimating, everything is in theory and based on past projects, but nothing is “concrete”. In most cases, a project starts as an invitation and then moves to drawn details and plans that amount to lines on paper or a computer screen. Taking plans and putting them into reality is a delicate process of infinite variables that nobody has complete control of; this fact is what leads many good leaders to abandon detailed plans and rely on instinct and quick reactions to drive a project. This very same instinct can lead down a trail of costly mistakes and avoidable rework if it is not executed correctly.
While bidding is taking your best guess based on past experience, and putting a realistic number to a plan, project planning is much more involved. This process is commonly overlooked because the daily inertia of other ongoing projects keeps focus on the NOW and not the FUTURE. One of the most difficult transitions for a contractor is moving from bid to reality; it is hard to take the plans from an estimators desk (and mind) and transport them into the actions of field installers. Even when managers stay on task and work with installers on a daily basis, projects can still suffer from poor plan execution if the plan is not put into place before the project begins.
A Good Resource for Project Planning
Sometimes preaching to the choir is my calling; As a manager and owner, I have suffered the shortcomings of poor planing, more times than not. It takes one well planned and executed project to highlight all of the shortcomings that exist in other projects, and one very poorly planed project to send the team racing back to the dry erase board to fix upcoming projects. Through my experience, below is a few steps that can guide a team through the process; it is a simple guide that needs to be fine tuned per project and scope, but can serve as a starting point for a successful project.
- 1. Start with the Bid Process but do not waste valuable time:
- Look at every relevant specification and detail to your scope of work (don’t assume you know what the customer wants)
- Start early enough to ask questions – Make sure you get the answers.
- If in doubt – clarify your scope on your estimate.
- Pull from past experience and make adjustments (know your limitations and price them into the project – whatever can go wrong, probably will times 2)
- 2. Save your work and notes (not documenting today will leave you scrambling tomorrow)
- Keep all handwritten notes and scan them to a data file.
- Keep any photographs of the site in a data file.
- Keep any important detailed drawings/plans and save them to a data file.
- 3. Look over the Contract (if you are lucky enough to be the winning bidder)
- Is there a reason you were the low bidder? Qualify your bid before executing contracts)
- Check you raw material prices – suppliers may have raised prices after you bid the project.
- Check your work – make sure your bid was based on the most recent plans and addendum’s. Don’t get caught giving free work for something you can clarify before entering into a contract.
- Deal with reputable Contractors – let experience guide you into contracts with people that you can trust.
- 4. Schedule:
- Place the project on a schedule as soon as you can (it can be moved)
- Be flexible but firm – Schedule 25% extra time for a job and make sure you have the manpower to accomplish the published schedule. Under promise on your schedule and Over deliver.
- 5. PLAN:
- Meet with your teem at the time of contracting and set up a time to go over details before project begins.
- Don’t waste time – Planning to early is nearly as bad as not planning if either the wrong people are in the meeting, or to much time goes by before the project – “timing is everything”.
- Set out some goals for ordering materials, special tools and select preferred applicators for a project.
- Have everything you need available before a project begins (keep in mind that you will never really have EVERYTHING)
- Agree with your team, that the plan is a living thing – be open to its evolution.
- 6. Execution:
- Always schedule a pre-construction meeting or site visit at least week before begging a project.
- Share your plan with the project superintendent and project manager before beginning – put in in writing.
- Start by assuming that the plan is a good one and get to work
- Be prepared to modify your plan – the better the plan the less you will have to change; changes to your plan, if done correctly, should result in a change order.
- 7. Finish Strong:
- Pre-punch all of your work and have any site supervisor inspect it before you leave – re-mobilizing is costly.
- Many projects hold retainage until projects reach substantial completion; secure your final payment by getting any punch list items signed off on.
- Do your paperwork – Bill the project and turn in all paperwork so that there are no hurdles holding up your final payment.
While the seven items above all appear to be common sense, my team misses many of them on every project due to project blur (the process of overlapping projects that keep a person from giving 100% attention to one thing at a time). It is important to let a team process one project at a time, and move onto the next project once finished. In our industry, it is nearly impossible to dedicate time to one project at a time; a team must set limits on meetings and close out one subject before beginning the next. Try to plan ahead so that when a project is in front of you, there are no time consuming details keeping you from focusing your attention on the next bid. Like almost everything in life, the process is cyclical and must be kept up with at all times; looking back just slows you down.
“Every minute you spend in planning saves 10 minutes in execution; this gives you a 1,000 percent return on energy!” ― Brian Tracy, author and motivational speaker


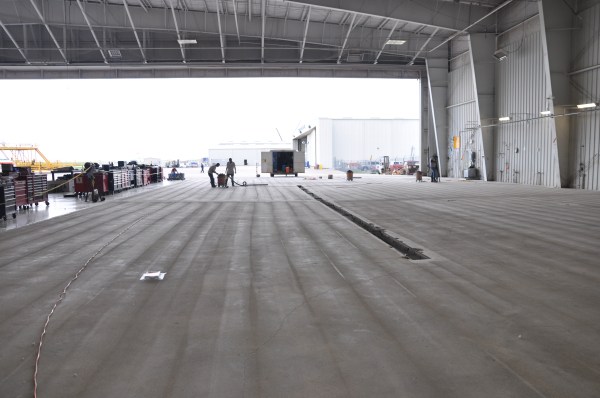
 Many of the issues that cause customers and architects to stop using resinous flooring products are not due to the products themselves; the lack of proper preparation causes as many, if not more failures than hydro-static pressure or bad materials. While the construction market is price driven, it is always important to use contractors that have a reputation for success and service. While it is not always possible to have a perfect installation every time, choosing the correct professional to work with will give you a successful final product. The goal is to get it right the first time, but what separates good from great, is how a contractor deals with adversity.WHY IS PREPARATION SO IMPORTANT?Unlike many other flooring products, finished Resinous products are technically manufactured in place. Ceramic Tile, VCT, and many other sheet flooring goods are manufactured in a controlled environment and installed at your job site; Resinous materials are shipped in parts and manufactured onsite. While this makes installations more challenging, it gives the customer and installer much more freedom for completing necessary details on site without creating seams and awkward transitions. The most important part of the installation process for Resinous Flooring, is the floor preparation. The longevity and overall performance of a Resinous Floor depends on its mechanical and Chemical bond to the sub floor, and this bond can only take place within the porosity of the sub-floor.”Mechanical bonding is a kind of chemical bond that is usually found in rotaxanes and catenanes or other molecular structures that are mechanically interlocked. In this type of adhesive bonding, the adhesive material locks physically onto the surface crevices.”